Ready to make your first handmade birthday card? This cheerful cupcake card uses layered stamping to create colorful, dimensional cupcakes that look impressive but are surprisingly beginner-friendly.
Note: If five cupcakes feel like a lot, start with just one cupcake in the center of the card with the sentiment. Your clean and simple card will look delightful too!
What You'll Need
Stamps & Inks:
Amazon has Whaline acrylic blocks that have grids and sometimes even scallops to hold with ease
Color Pairs Used:
Paper & Tools:
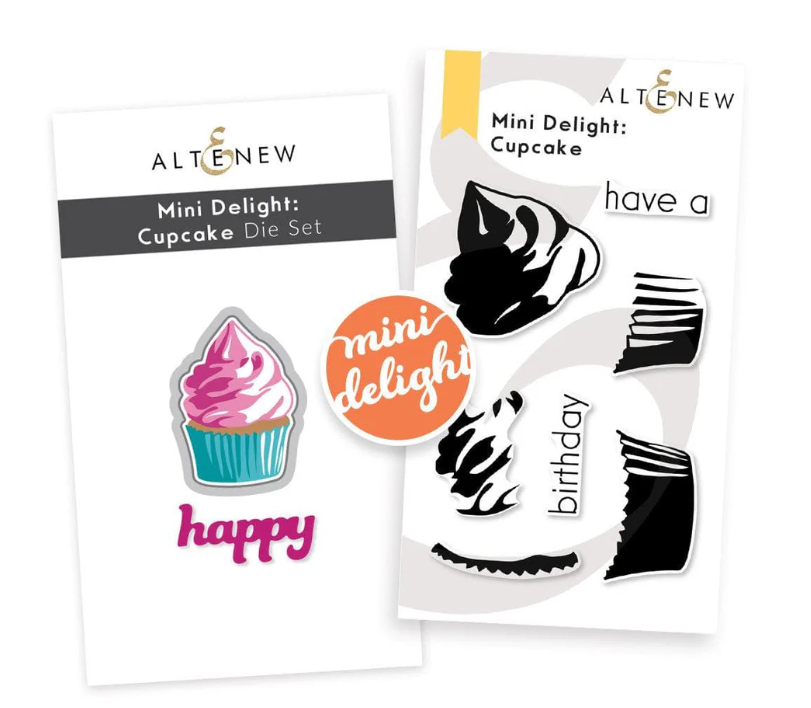
Step 1: Stamp the Cupcake Wrappers
Cut an A2-sized white cardstock panel. Mount the first layer of the cupcake wrapper stamp onto a small acrylic block. Ink with Ocean Waves and stamp onto the panel. Clean the stamp.
Mount the second layer of the wrapper. Ink with Dusk, carefully align, and stamp over the first layer.
Repeat using Minty Mint (first layer) and Sweet Leaf (second layer). Alternate between the two color combinations to stamp five wrappers in a row.
Step 2: Add the Cupcake Tops
Mount the cupcake top stamp and ink with Caramel Toffee. Stamp directly above each wrapper, aligning carefully.
Step 3: Layer the Frosting
This is the magic happens! Mount the first frosting layer stamp and ink with your lighter color. Stamp over each cupcake. Then mount the second frosting layer and ink with the darker shade for shadows and dimension.
Use different color pairs for each cupcake:
Feel free to substitute similar color pairs from your own stash!
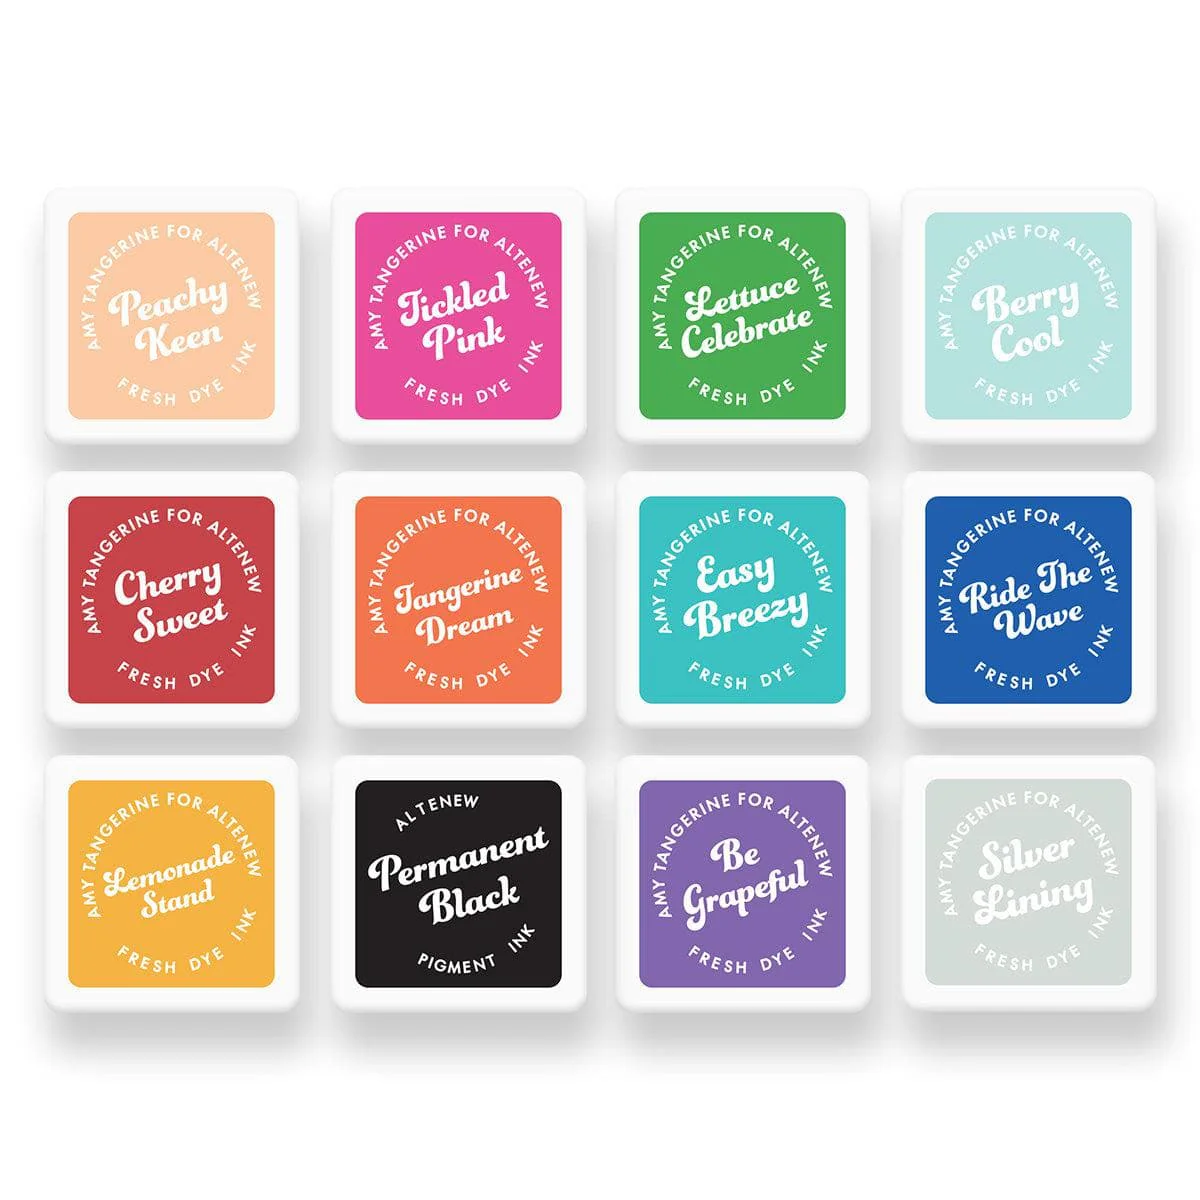
Altenew carries a wide range of bright and colorful fresh dye ink pads and cubes
Step 4: Sentiments & Assembly
Stamp "have a" above the cupcake row using Jet Black Ink. Stamp "happy" below the cupcakes using a coordinating dark ink. Stamp "birthday" in Jet Black to complete the sentiment.
Optional: Add a narrow strip of patterned paper or glitter cardstock beneath the sentiment for extra interest.
Adhere the completed panel to an A2 folded note card using double-sided tape.
---
Suggested Supplies
Stamp Set:
Ink Sets (color pairs):
Shop all Altenew inks & stamps →
Happy stamping! 🧁