If you've ever admired a beautifully stamped card or scrapbook page and thought, "I could never make that," I have good news: stamping is one of the most beginner-friendly crafts out there.
Unlike drawing or painting, you don't need years of practice to get professional-looking results. The stamp does the hard work.
What You Actually Need to Start
The essentials:
That's it. Everything else is optional until you're ready to expand.
Understanding Ink Types
Dye Inks — Dry quickly, transparent, vibrant colors. Perfect for beginners. Brands: Altenew, Simon Says Stamp, Hero Arts
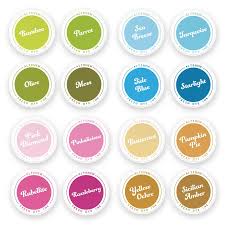
Altenew Fresh Dye Inks come in an excellent range of colors
Pigment Inks — Dry slowly, opaque, rich coverage. Great for embossing. Brands: VersaFine, StazOn
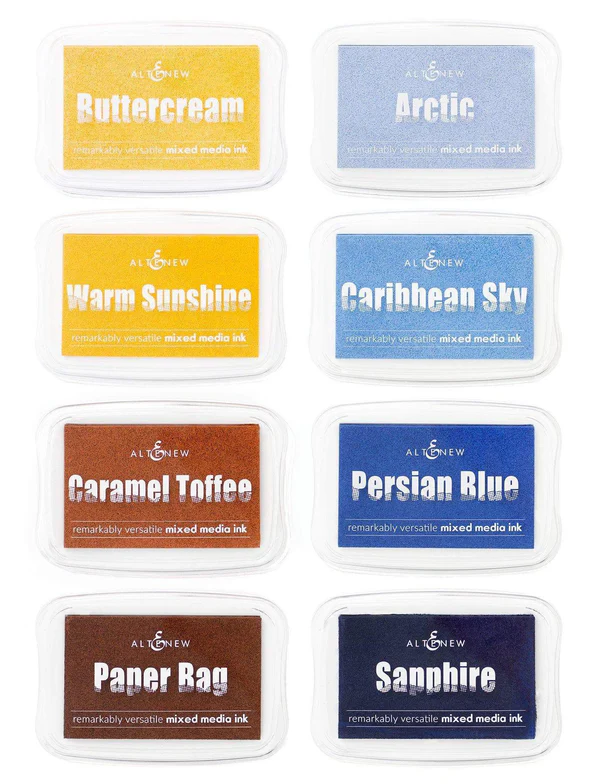
Altenew Pigment Inks come in a wide range of colors
Distress Inks — Water-reactive, vintage/aged effects. Perfect for ink blending. Brand: Tim Holtz Distress
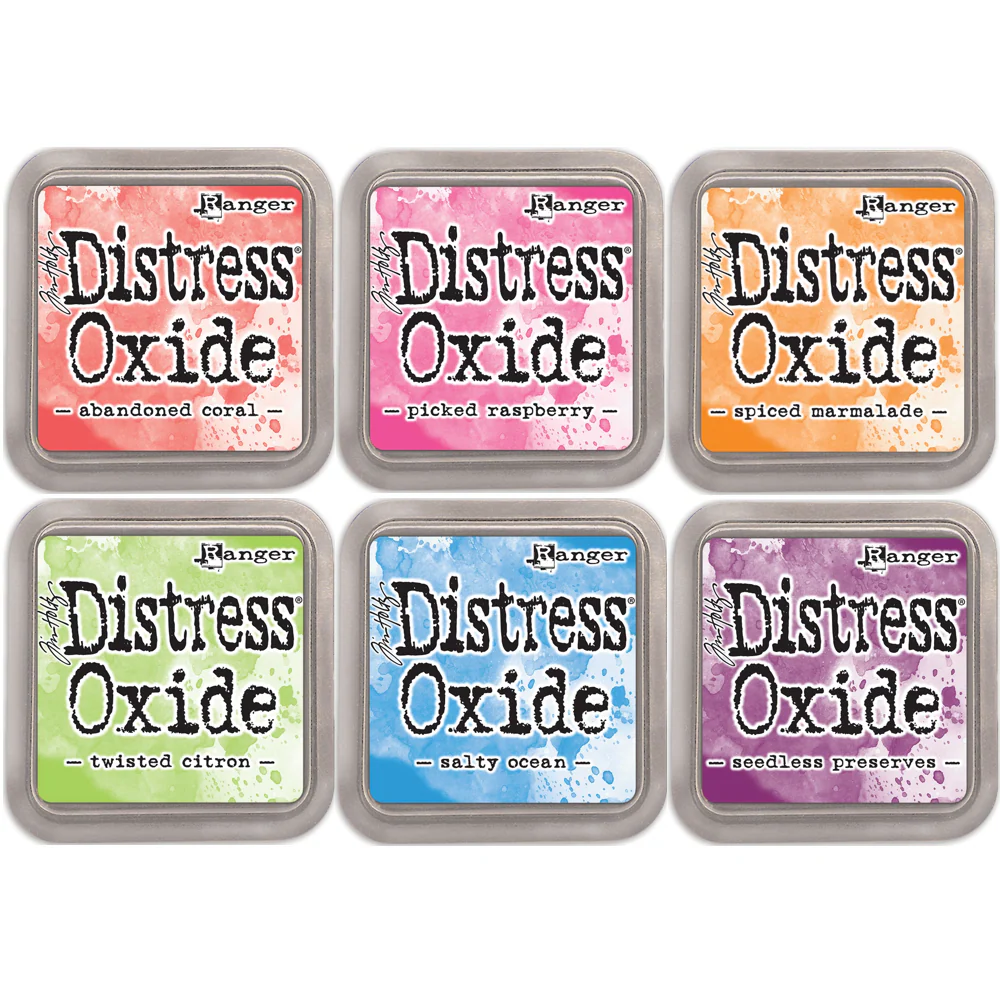
Tim Holtz Distress Inks are an industry standard and give beautiful results on cardstock and coloring book pages
My recommendation: Start with dye-based ink cubes or pads. They're forgiving, dry fast, and work on almost any paper. Altenew's fresh dye inks are particularly beginner-friendly.
Rubber vs. Clear Stamps
Rubber stamps are mounted on wood blocks. Durable, classic feel, but take up storage space.
Clear stamps (photopolymer) are transparent and stick to acrylic blocks. You can see exactly where your image will land. Most modern stampers prefer these.
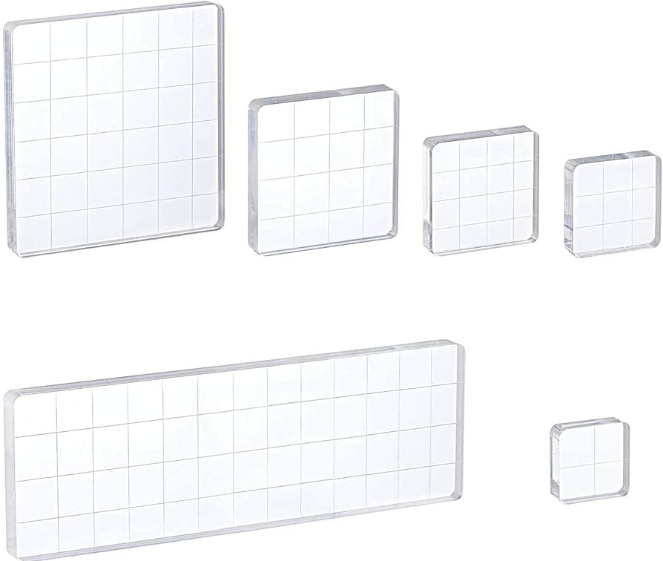
Amazon has Whaline acrylic blocks that have grids and sometimes even scallops to hold with ease
The Inking Technique That Changes Everything
Don't press the stamp into the ink pad. Tap the ink pad/cube onto the stamp.
This seems backwards, but it gives you much more control. Hold your stamp rubber-side up, then tap your ink pad onto it in gentle, even motions.
Common Beginner Mistakes
Building Your Collection (Without Going Broke)
Avoid the temptation to buy every cute stamp you see. A small, curated collection you actually use beats a massive stash that overwhelms you.
Welcome to the craft. You're going to love it here.
---
Suggested Supplies
Ink Cube Sets:
Tools & Stamps: